 PanoRyse
Editing separate photos
PanoRyse is a photo editor as well as a stitcher. Photos that do not overlap open in photo mode: each keeps its own edit, and nothing stitches unless you ask.
1. Import and choose photo mode
- Import a few photos that do not overlap (holiday shots, say).
- A window asks: These look like separate photos. Choose Edit as separate photos (recommended). The other choices are Find panoramas among them, Stitch them all anyway and I'll decide later.
- Tick Remember for imports of separate photos and later imports skip the window.
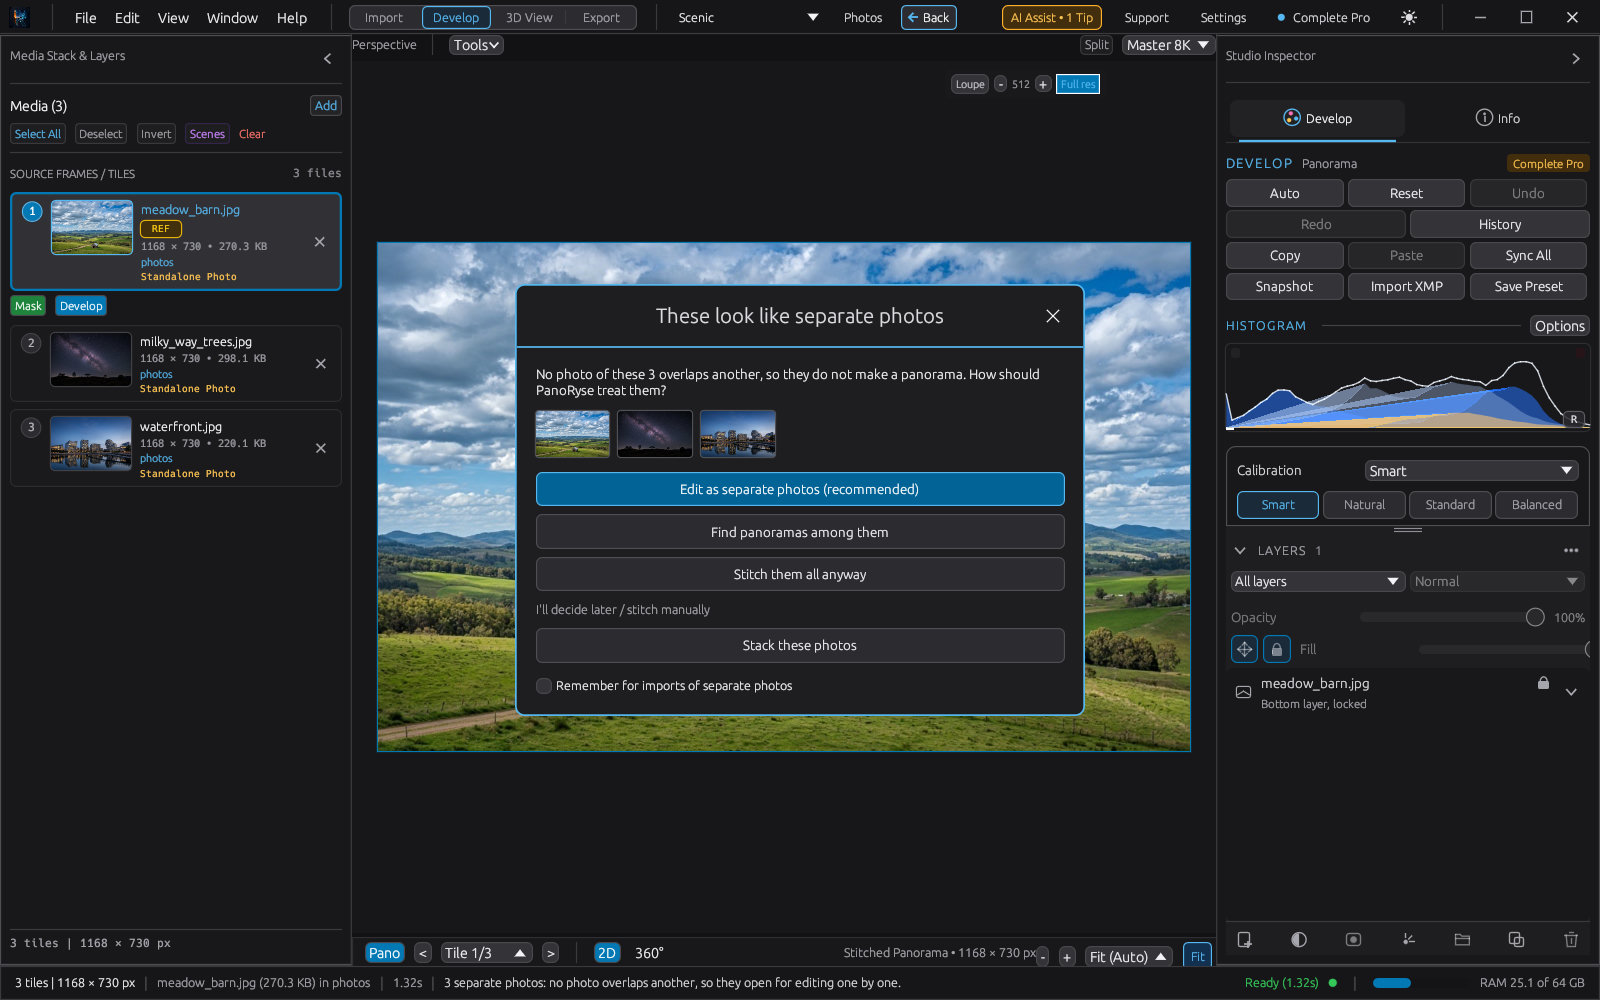
A single photo opens in photo mode straight away.
2. Edit each photo
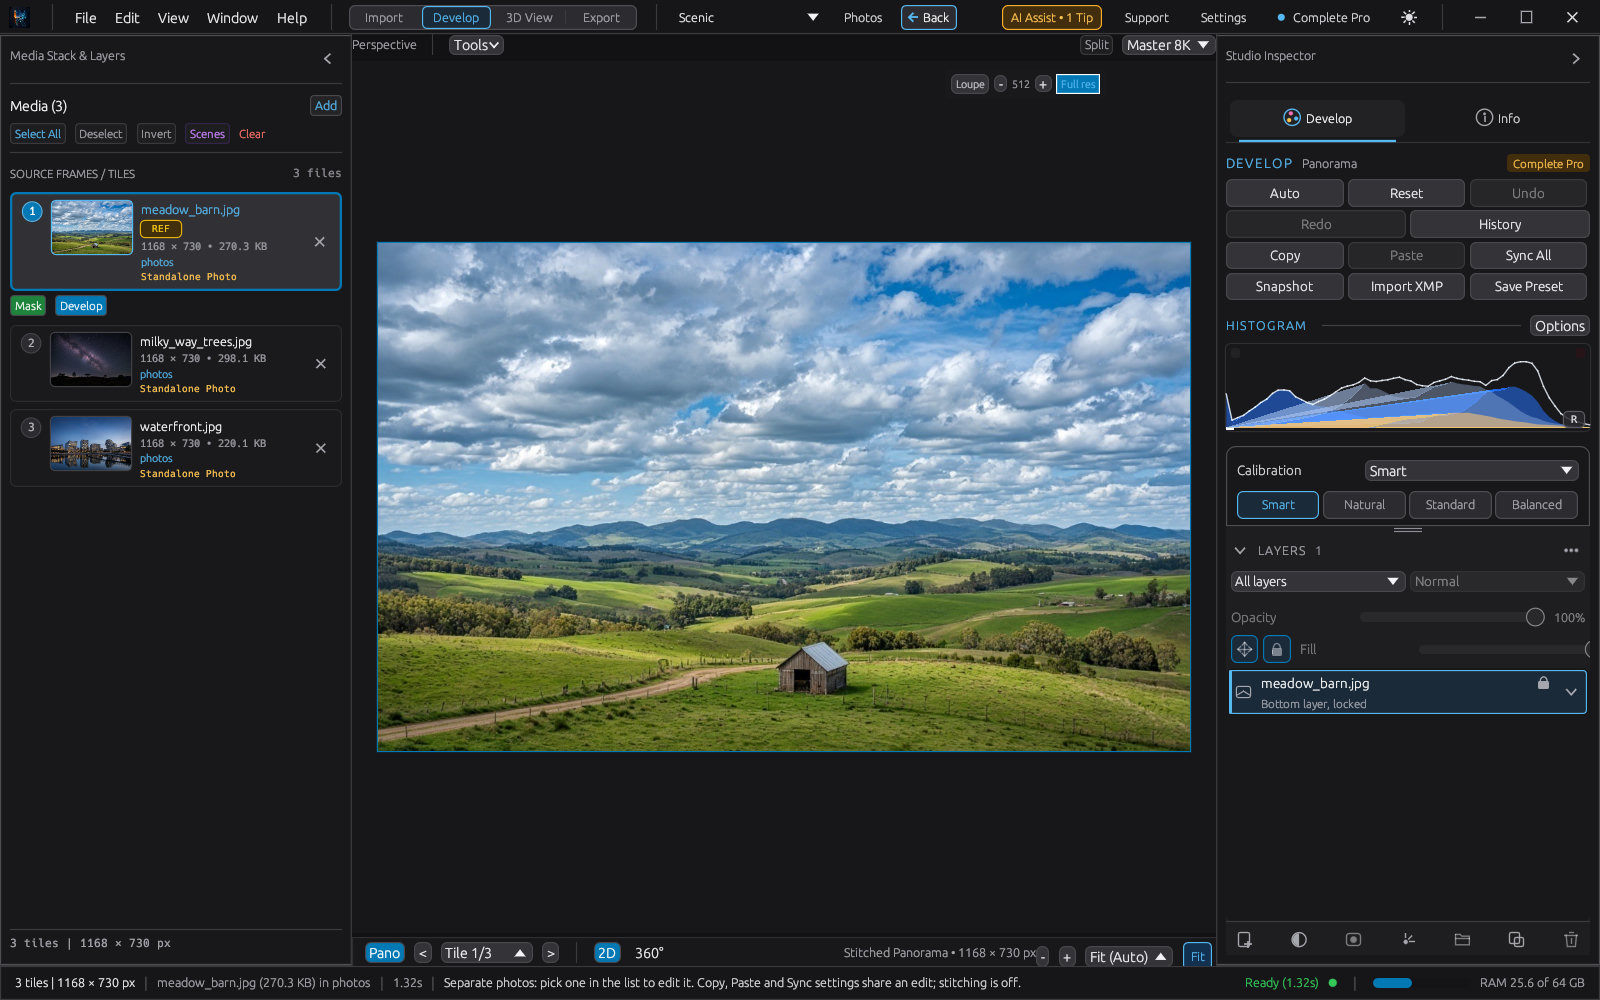
- The inspector has two tabs, Develop and Info. There are no stitch steps or banners in photo mode.
- Click a photo in the list on the left to edit it. Each photo keeps its own develop settings, crop and layers.
- Everything in Develop works on single photos: panels, adjustment layers, masks, picture layers and, in Night & Astro, the star separator and Auto colour (astro).
3. The Info tab
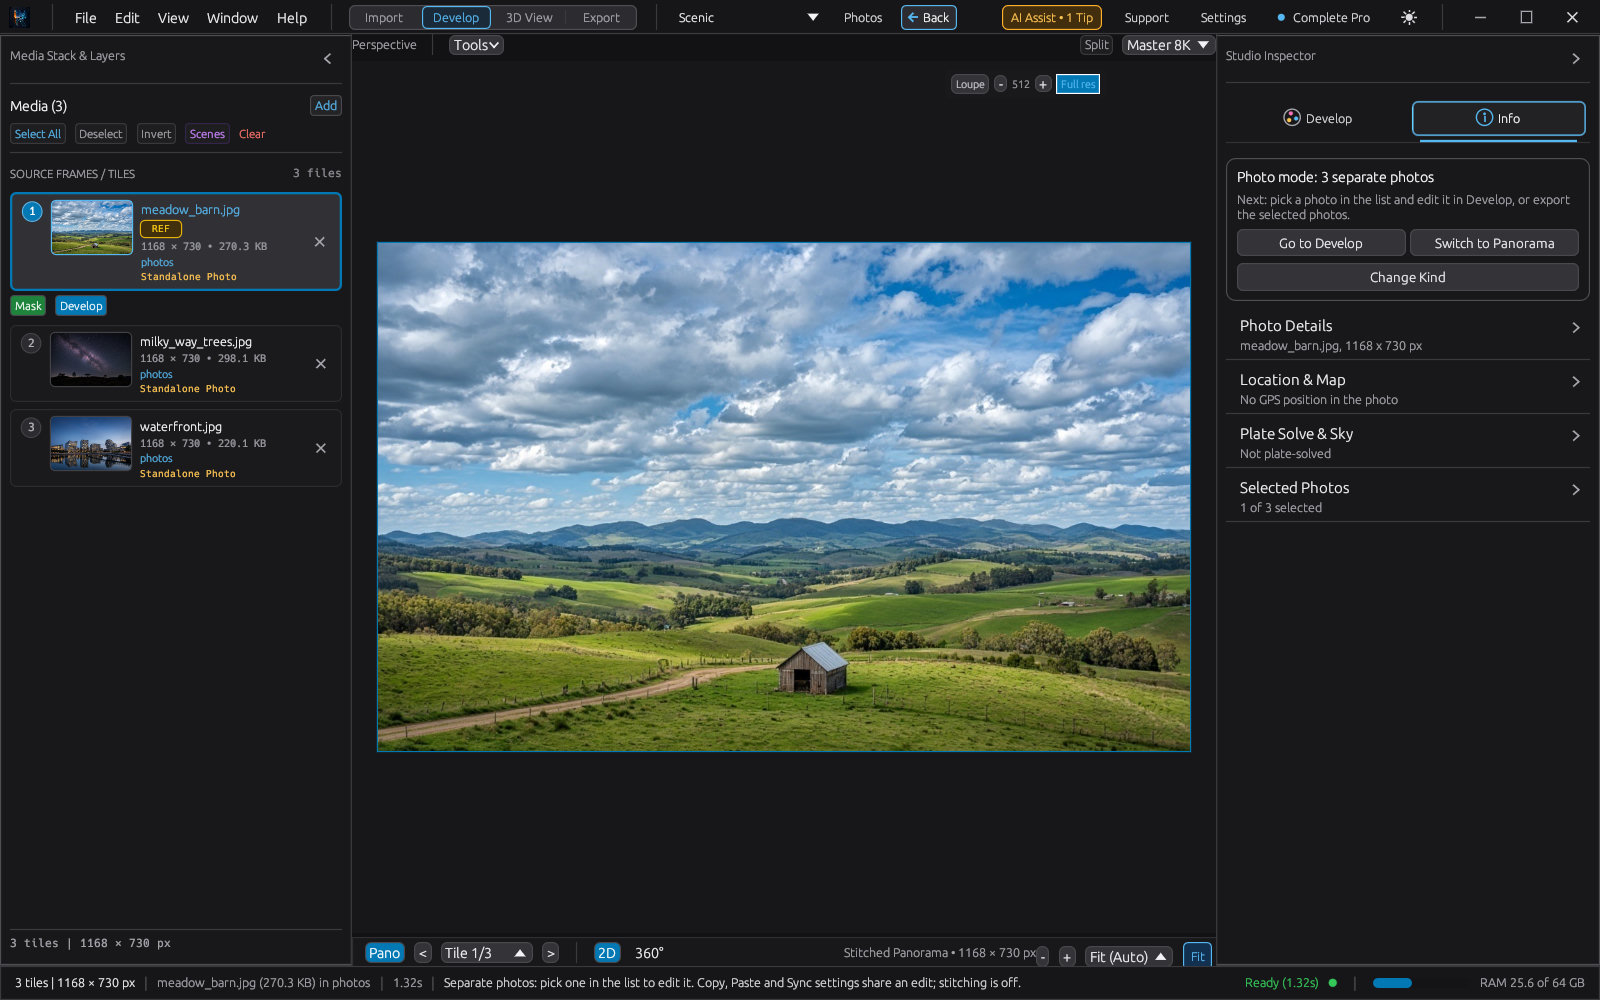
Info holds the photo's details (camera, lens, exposure), Location & Map for photos with GPS, Plate Solve & Sky for night photos, and Selected Photos.
4. Sync settings
- Edit one photo until you like it.
- In the list, select the other photos with Ctrl+click or Shift+click.
- In Info > Selected Photos, tick what to copy: Develop, Crop, Layers, Masks.
- Press Sync settings to selected. It is one undo step.
5. Batch export
- Set the format and options in the Export tab.
- In Info > Selected Photos, press Export N selected photos... and choose a folder.
- Each photo is written with its own edit as
<name>_PanoRyse.<ext>. Nothing is overwritten: a second file gets-2,-3and so on. A progress bar and Cancel batch show while it runs.
Changing your mind
The chip beside the mode on the top bar shows the project kind: Photo, Photos, Panorama, Sets, Astro stack or Astro mosaic. Click it to change the kind; Ctrl+Z undoes the change. Edit > Stitch as Panorama stitches the photos directly.